
Is your Maytag dryer leaving your clothes damp, or perhaps scorching them to a crisp? The culprit might be a malfunctioning moisture sensor! This crucial component is the key to efficient and effective drying, automatically detecting when your clothes are dry and stopping the cycle to save energy and prevent damage. If you’re experiencing issues with your dryer, don’t hesitate to reach out! Call us today to schedule a professional inspection and get your dryer running smoothly again. Let’s dive into how a Maytag dryer moisture sensor works, common issues, and when it’s time to call in the professionals.
1. Why Your Dryer Isn’t Just Hot Air: Understanding the Moisture Sensor
We often think of dryers as simple machines that blast hot air until our clothes are dry. But modern Maytag dryers are far more sophisticated, thanks to the moisture sensor. This small but mighty component constantly monitors the dampness of your laundry and signals the dryer to adjust the heat and cycle time accordingly. Without it, you’re either wasting energy by over-drying or dealing with clothes that are still damp when the cycle ends. This is why a properly functioning moisture sensor is extremely important.

2. The Basics of Moisture Sensing Technology
What Is a Moisture Sensor?
At its core, a moisture sensor is a device that measures the amount of moisture present in your dryer’s drum. It does this by detecting the electrical conductivity of your clothes. Damp fabrics conduct electricity more easily than dry fabrics. The sensor uses this principle to determine how much moisture remains.
Where is the Moisture Sensor Located in a Maytag Dryer?
The location of the moisture sensor can vary slightly depending on the specific Maytag dryer model. However, you’ll typically find it:
- Near the Lint Screen Housing: This is a common location, as the sensor can easily detect moisture as air flows past it.
- On the Front Panel Inside the Drum: Some models have sensors mounted on the front wall of the drum.
3. How the Maytag Dryer Moisture Sensor Operates
The Science Behind the Sensing: Conductivity Explained
The moisture sensor in your Maytag dryer typically consists of two metal bars or strips. A small electrical current flows between these bars. When wet clothes come into contact with the sensor, the moisture increases the conductivity between the bars, allowing more current to flow. The dryer’s control board detects this change in current and interprets it as moisture. As the clothes dry, conductivity decreases, signaling the dryer to adjust or end the cycle.
The Cycle of Drying: From Damp to Done
The dryer cycle starts with a high heat setting to quickly evaporate moisture. As the sensor detects decreasing moisture levels, it signals the control board to reduce the heat or switch to a cool-down phase. Eventually, when the clothes reach the desired dryness level, the sensor tells the control board to end the cycle completely. This automatic sensing helps prevent over-drying and saves energy.
The Role of the Dryer Control Board
The control board is the brain of your dryer. It receives signals from the moisture sensor, interprets them, and controls the heating element, motor, and other components. The control board also displays error codes if the sensor malfunctions. A faulty control board can misinterpret sensor data, leading to improper drying.

4. Troubleshooting Common Moisture Sensor Problems
Signs of a Malfunctioning Moisture Sensor
Here are some common signs that your Maytag dryer’s moisture sensor may be malfunctioning:
- Clothes are consistently damp after the cycle ends.
- The dryer cycle ends too soon, leaving clothes wet.
- Clothes are over-dried, scorched, or have excessive static cling.
- The dryer displays an error code related to the moisture sensor.
Common Causes of Moisture Sensor Failure
- Lint Buildup: Lint accumulation on the sensor bars can interfere with their ability to accurately detect moisture.
- Sensor Corrosion: Over time, the sensor bars can corrode due to exposure to moisture and detergent residue.
- Wiring Issues: Damaged or loose wiring can disrupt the signal between the sensor and the control board.
- Faulty Control Board: In some cases, a faulty control board may be the root cause of the problem.
DIY Checks and Cleaning
Before calling a professional, you can try these simple checks and cleaning steps:
- Unplug the Dryer: Always disconnect the power before working on any appliance.
- Locate the Sensor: Refer to your dryer’s manual for the exact location.
- Visually Inspect: Check for lint buildup, corrosion, or damaged wiring.
- Clean the Sensor: Gently clean the sensor bars with a soft cloth dampened with rubbing alcohol.
- Reassemble and Test: Plug the dryer back in and run a test cycle.
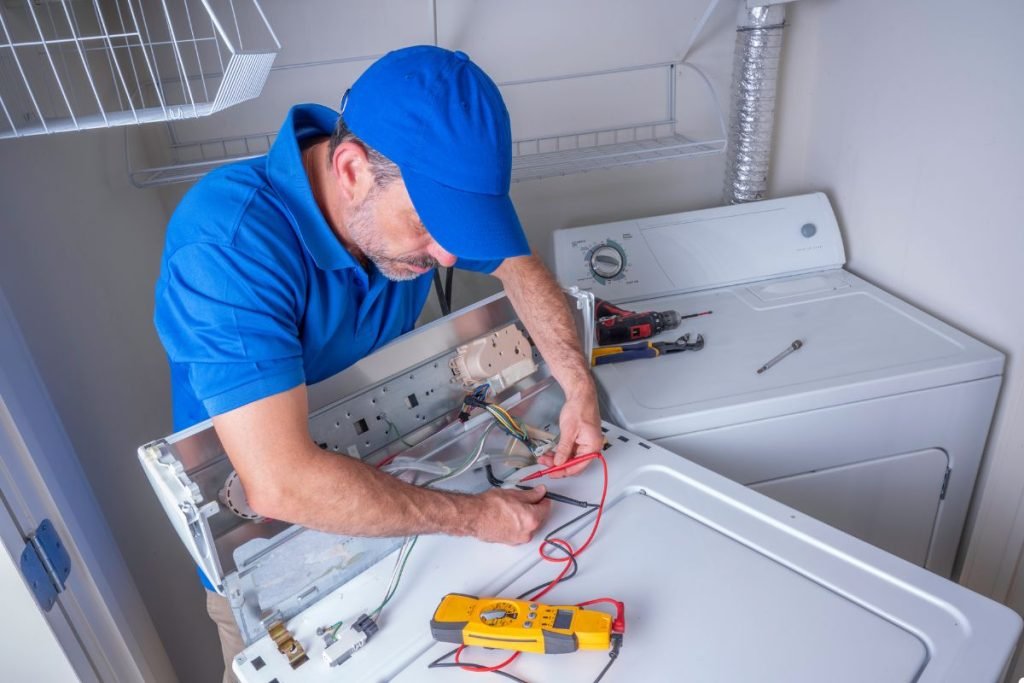
5. When to Call a Professional
Knowing When It’s Time to Call a Technician
While cleaning the sensor is a simple DIY fix, some problems require professional attention. Call a qualified appliance repair technician if:
- You suspect a problem with the control board.
- You find damaged or frayed wiring.
- The sensor is heavily corroded or damaged and needs replacement.
- You’ve cleaned the sensor, but the problem persists.
Finding a Qualified Appliance Repair Technician
- Check Online Reviews: Look for technicians with positive reviews and ratings.
- Ask for Recommendations: Ask friends, family, or neighbors for referrals.
- Verify Credentials: Ensure the technician is licensed and insured.
- Get a Quote: Obtain a written estimate before authorizing any repairs.
6. Maintenance Tips for Extending Sensor Life
Preventative Measures for a Long-Lasting Sensor
- Clean the Lint Trap After Every Load: This is the most important thing you can do to prevent dryer problems.
- Ensure Proper Dryer Venting: A clogged vent restricts airflow and increases drying time, putting extra strain on the sensor.
- Avoid Overloading the Dryer: Overloading can prevent proper airflow and lead to uneven drying.
- Use Dryer Sheets Sparingly: If dryer sheets are causing issues with your sensor, don’t let it damage your appliance. Contact us today to learn how to resolve the problem and keep your dryer running efficiently.
Conclusion
Optimize Your Drying: A Properly Functioning Moisture Sensor is Key
A properly functioning moisture sensor is essential for efficient, effective, and energy-saving drying. By understanding how it works, recognizing common problems, and following basic maintenance tips, you can keep your Maytag dryer running smoothly for years to come. However, if you encounter persistent problems, don’t hesitate to call a qualified appliance repair technician. They have the expertise and tools to diagnose and fix any issue, ensuring your dryer is working at its best.
This comprehensive article provides valuable information about Maytag dryer moisture sensors, addresses common concerns, and strategically incorporates calls to action to encourage readers to contact you for service. If you’re experiencing issues with your dryer or need expert assistance, call us today or visit to schedule a service appointment. Remember to replace the bracketed placeholders with your actual contact information and relevant links.